This example shows how to integrate the dashboard viewer into a Vue.js 3 application. First of all, load scripts:
import { onMounted } from "vue";
import { Stimulsoft } from "stimulsoft-dashboards-js/Scripts/stimulsoft.blockly.editor";
import 'stimulsoft-dashboards-js/Css/stimulsoft.viewer.office2013.whiteblue.css';
Then, create the dashboard viewer with specified options:
onMounted(() => {
	console.log('Loading Viewer view');

	console.log('Creating the dashboard viewer with default options');
	var viewer = new Stimulsoft.Viewer.StiViewer(undefined, 'StiViewer', false);

...
Next, create a new dashboard instance and load dashboard:
...

	console.log('Creating a new dashboard instance');
	var report = Stimulsoft.Report.StiReport.createNewDashboard();

	console.log('Load dashboard from url');
	report.loadFile('/dashboard/DashboardChristmas.mrt');

	console.log('Assigning dashboard to the viewer, the dashboard will be built automatically after rendering the viewer');
	viewer.report = report;

...
After that, render the viewer to selected element:
...

	console.log('Rendering the viewer to selected element');
	viewer.renderHtml('viewer');

	console.log('Loading completed successfully!');
});
Finally, show the viewer:
<div id="viewer"></div>
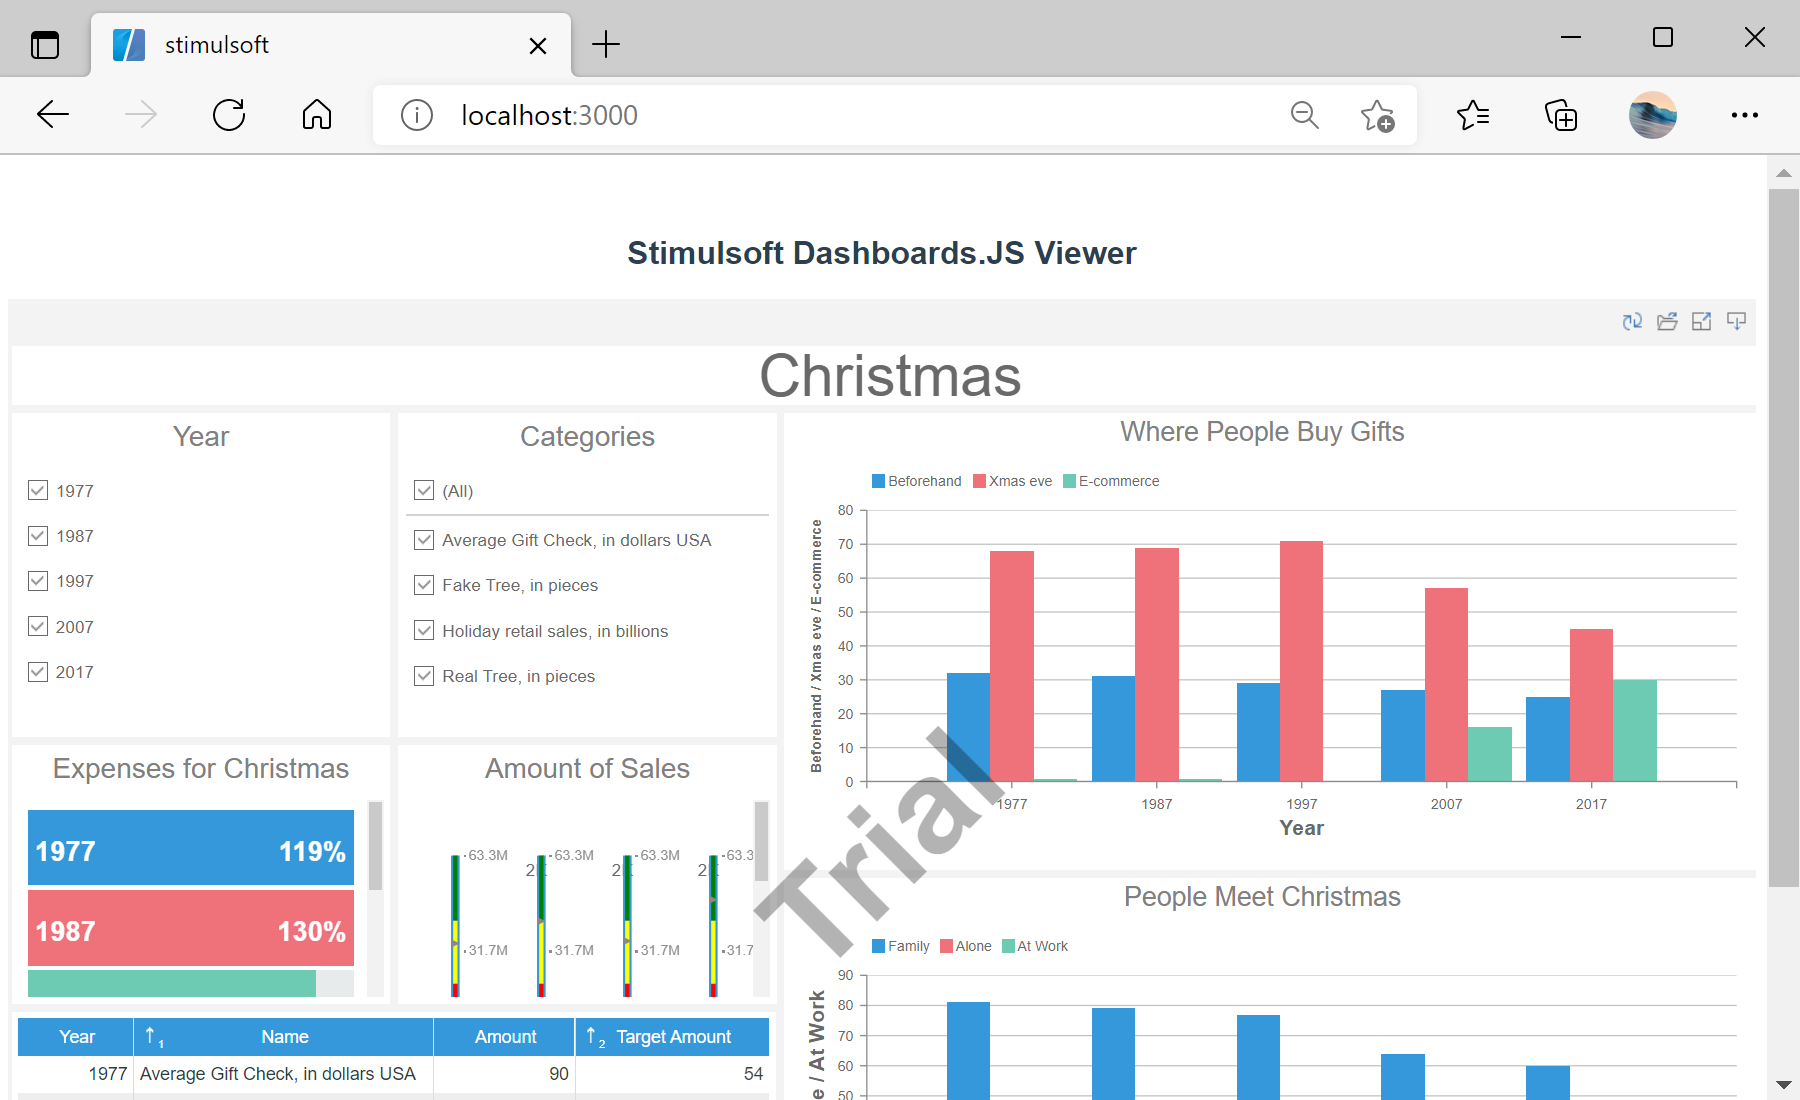
In the screenshot below you can see the result of the sample code: