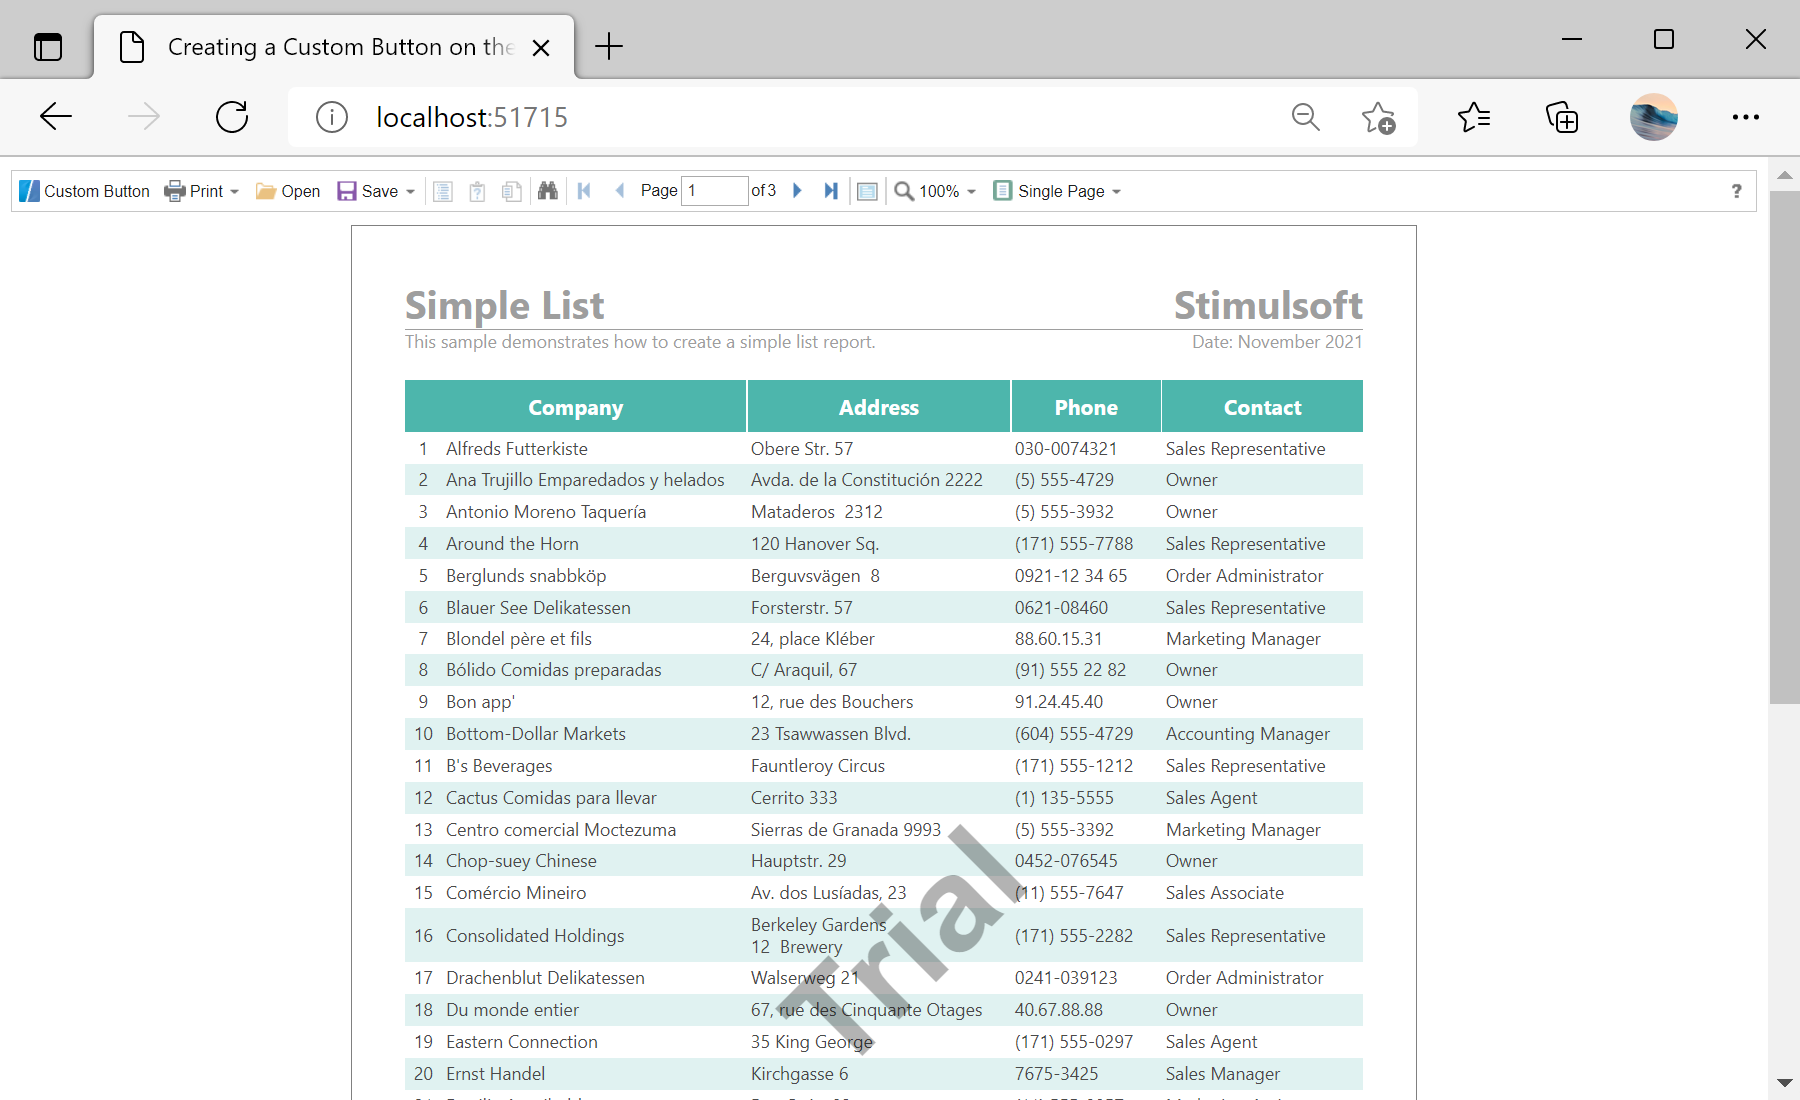
This sample project demonstrates how you can add the custom button on the toolbar of the web viewer. You can set the caption and icon for the custom button and add the click event.
For example, add the custom button on the toolbar and define the click event, in which to display the alert message:
<%@ Page Language="C#" AutoEventWireup="true" CodeBehind="Default.aspx.cs" Inherits="Custom_Button_on_the_Toolbar_of_the_Viewer.Default" %>
<%@ Register assembly="Stimulsoft.Report.Web" namespace="Stimulsoft.Report.Web" tagprefix="cc1" %>

<!DOCTYPE html>
<html xmlns="http://www.w3.org/1999/xhtml">
<head runat="server">
	<title>Custom Button on the Toolbar of the Viewer</title>
</head>
<body>
	<form id="form1" runat="server">
		<cc1:StiWebViewer ID="StiWebViewer1" runat="server"
			OnGetReport="StiWebViewer1_GetReport" />
	</form>

	<script type="text/javascript">

...

	</script>
</body>
</html>
To add the button you can use simple JavaScript code. First, create the custom button object using the
SmallButton() constructor which is located in the web viewer object. Next, get the toolbar buttons container and insert the button object:
jsStiWebViewer1.onready = function () {
	var customButton = jsStiWebViewer1.SmallButton("customButton", "Custom Button", "emptyImage");
	customButton.image.src = "https://www.stimulsoft.com/images/logo_16.png";
	customButton.action = function () {
		alert("Custom Button Event");
	}
	var toolbarTable = jsStiWebViewer1.controls.toolbar.firstChild.firstChild;
	var buttonsTable = toolbarTable.rows[0].firstChild.firstChild;
	var customButtonCell = buttonsTable.rows[0].insertCell(0);
	customButtonCell.appendChild(customButton);
}
Auf dem Screenshot unten Sie können das Ergebnis des Beispiel-Codes ansehen:


