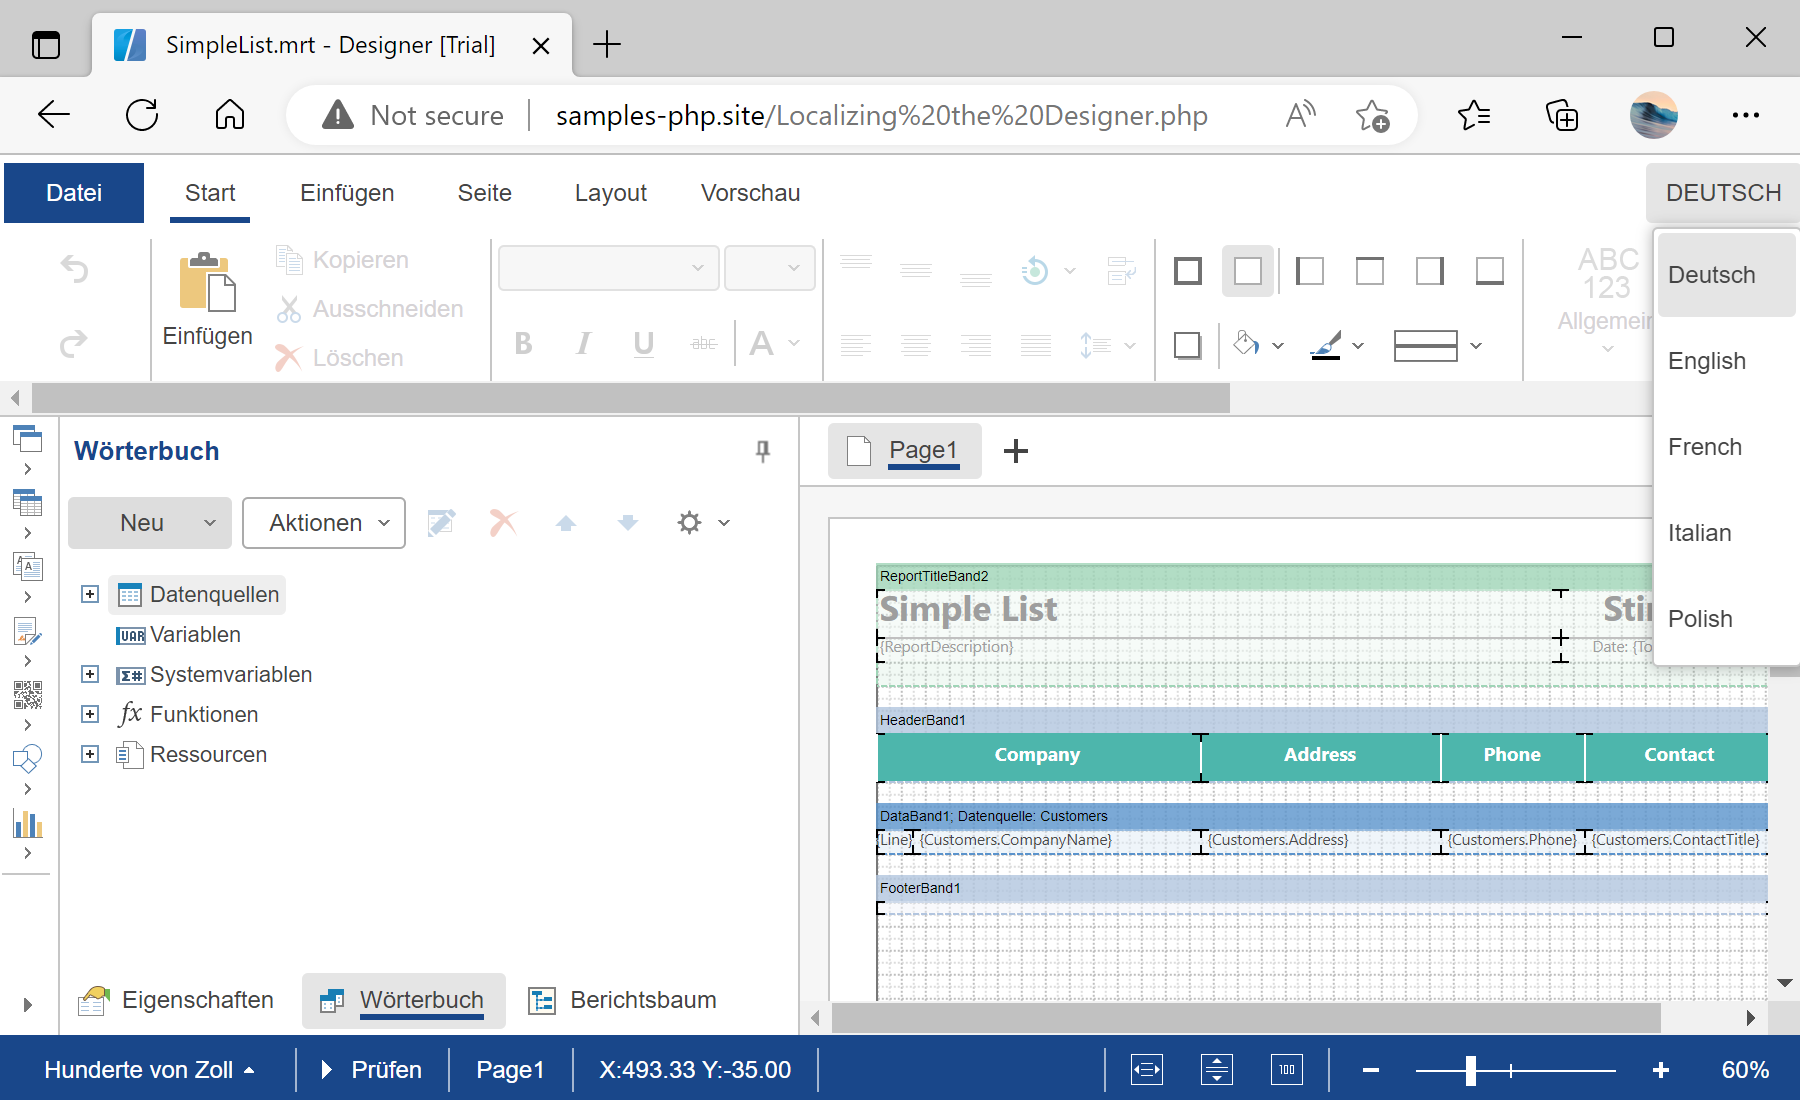
This example shows how to localize the Designer using
Stimulsoft Designer for PHP. First, you need to add the Stimulsoft libraries required for the component to work:
<?php
require_once '../vendor/autoload.php';

use Stimulsoft\Designer\StiDesigner;
use Stimulsoft\Report\StiReport;
?>
Next, create a
Designer object and configure JavaScript-related options. This includes setting the relative path to scripts and adding additional HTML elements, such as a favicon:
$designer = new StiDesigner();
$designer->javascript->relativePath = '../';
$designer->javascript->appendHead('<link rel="shortcut icon" href="/../favicon.ico" type="image/x-icon">');
Next, define the required interface localization. The list of available localization files can be obtained from the
GitHub repository. Additionally, it is possible to add optional localizations, which will be displayed in the localization menu in the Designer panel:
$designer->options->localization = 'de.xml';

$designer->options->addLocalization('fr.xml');
$designer->options->addLocalization('es.xml');
$designer->options->addLocalization('pt.xml');
Next, process the incoming request. If the request is related to Designer actions, it will be handled immediately on the server side:
$designer->process();
Next, create and load a report template. The
loadFile() method does not load the report object on the server side; instead, it generates the necessary JavaScript code. The report will be loaded into a JavaScript object on the client side:
$report = new StiReport();
$report->loadFile('../reports/SimpleList.mrt');
$designer->report = $report;
Finally, render the visual HTML part of the Designer as a prepared HTML page:
$designer->printHtml();
Auf dem Screenshot unten Sie können das Ergebnis des Beispiel-Codes ansehen:


